Starlink 📡
We recently installed Starlink mini as a permanent installation in our van. Here’s what we learned:
What is Starlink?
Starlink is a satellite internet constellation operated by SpaceX. It provides internet access to wherever we are in the van both in motion and stationary. In rural Alaska we often don’t have cell service at all and so installing the Starlink dish on the van was vital for maintaining connectivity. We’ve used the Generation 2 before and the Generation 3 dish but didn’t install either permanently. This time we opted for a permanent install of the mini dish which has a few advantages:
-
The mini has an integrated wifi router meaning the installation only needs power from the van’s battery. This allows us to remove the dish (but keep the wire installed) when we want to use it other places.
-
It consumes less power, the mini dish has a maximum power draw of 35W versus 50W for the Generation 3 dish. We’ve got 300 amp hours of battery storage so at a 35W draw we’re looking at about 100 hours of continuous use.
-
The plan available for the mini is also much cheaper, the 50GB plan costs $50/month versus $150/month for the Generation 3 in-motion plan.
How much does Starlink cost?
When we installed Starlink mini it cost us $600 for the dish and $50/month for 50GB for service.
How fast is it?
Generally around 30-40 Mbps down and 10-15 Mbps up in Alaska. If you look at the satellite map you can see the satellites in view above 55 degrees of latitude are far fewer so the speeds of > 100 mbps that people see in the lower 48 US states are likely due to that satellite density.

How did we install Starlink?
-
We used the following components:
-
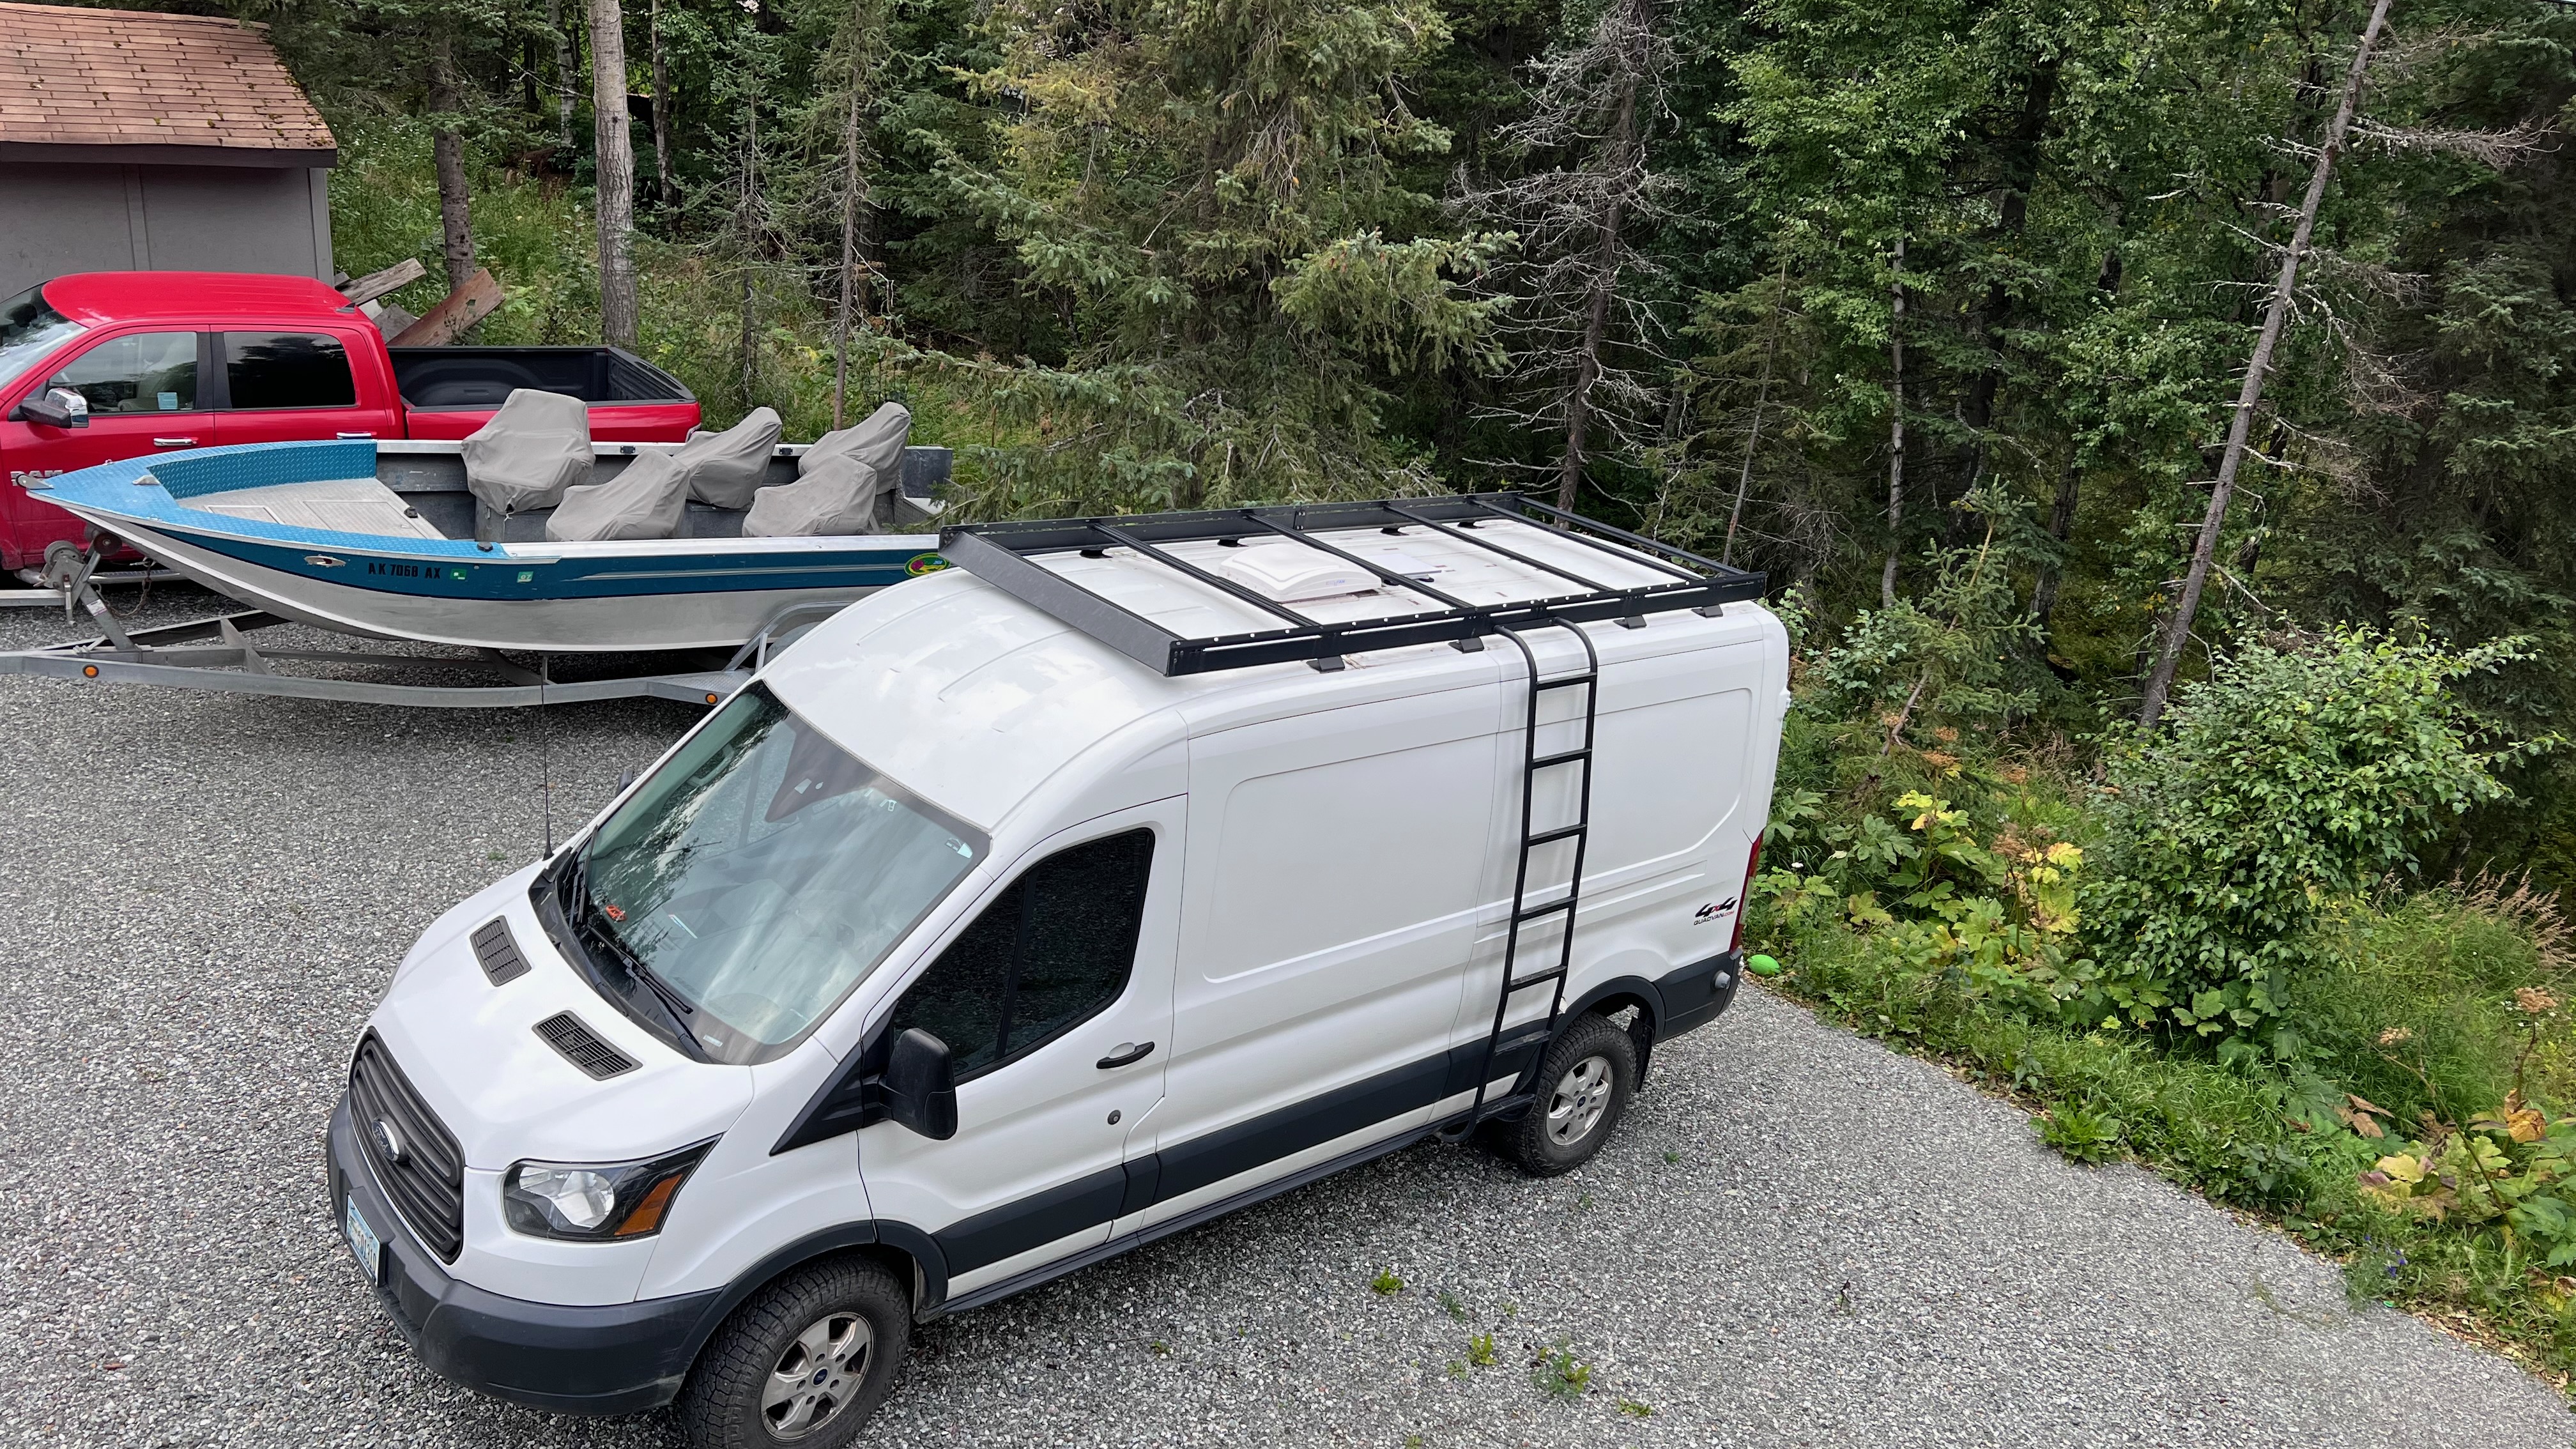
We installed the mount to the roof of the van using the Trio Flatmount mount, we opted for the magnetic attachment so we can keep the mount low profile. It’s not visible if you’re standing next to the van.

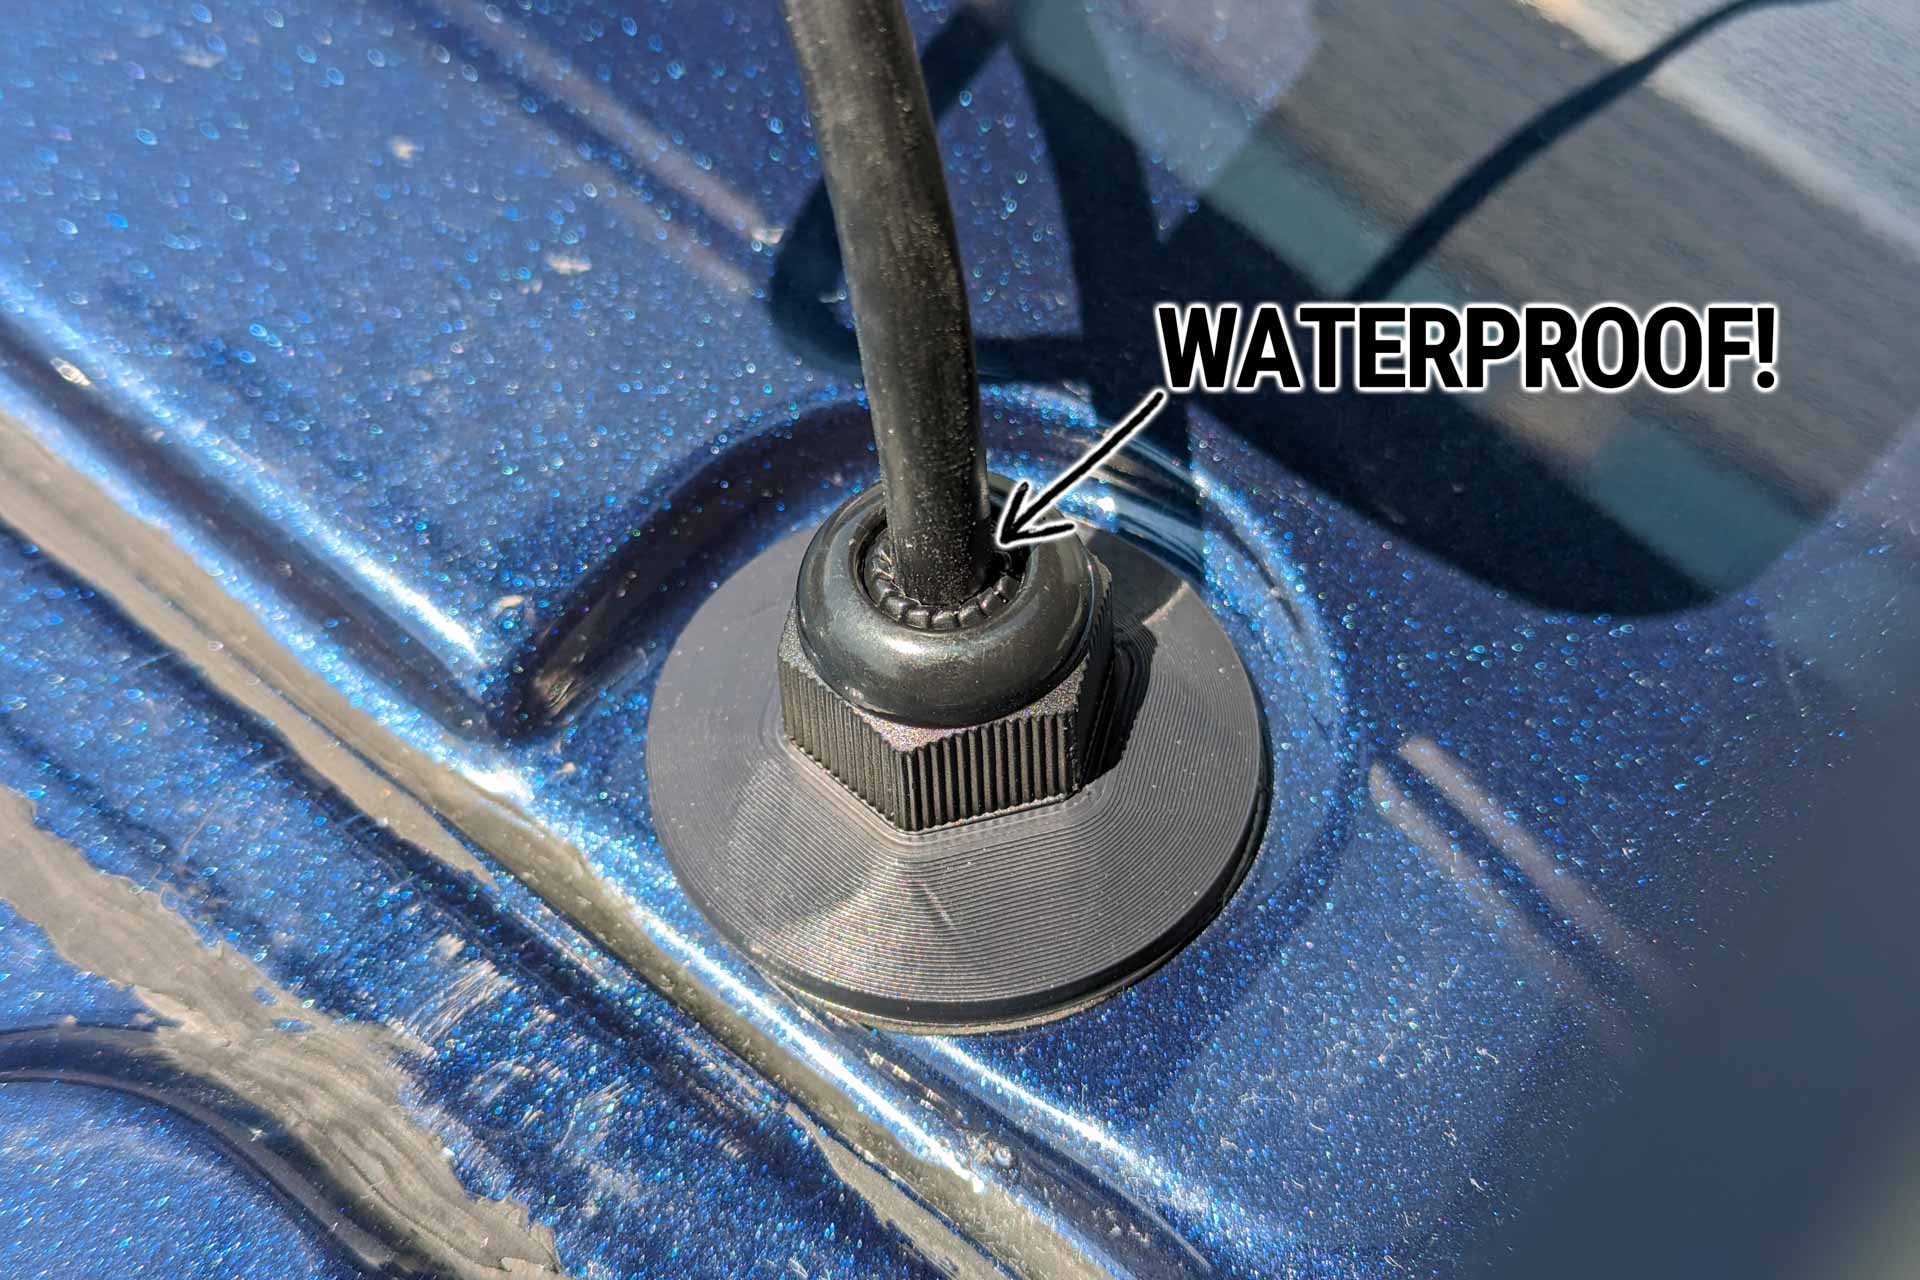
- We routed the power cable through the cable entry gland (I used the 4.0-8.2mm size). I used the forward hole on the Ford Transit.
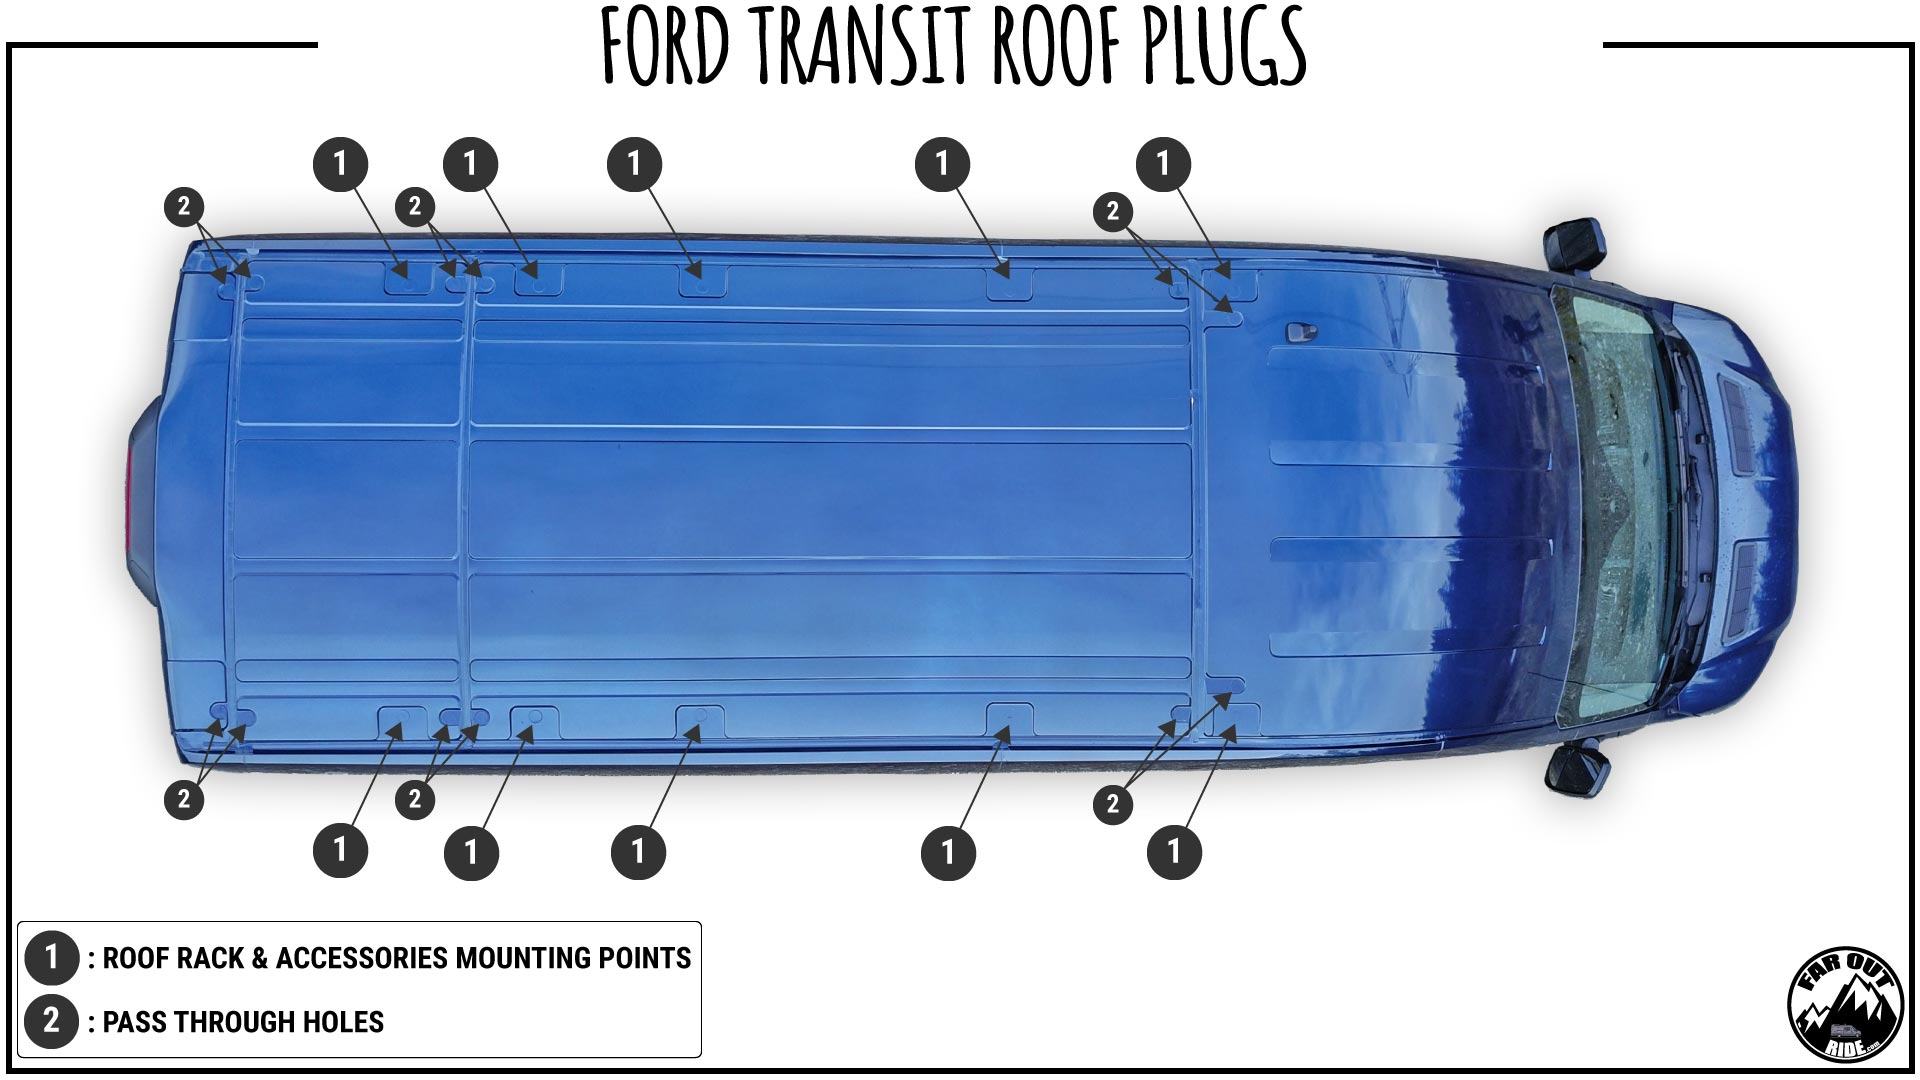
- Next we installed the cable entry gland using the attached sealant and for good measure added extra Sikaflex 221 silicone sealant around the edges of the hole to ensure it’s waterproof.
-
Next I cut one side of the power cable and separated out the ground and power wires. I then stripped the ends of the wires and wired them to the 56V output of the inverter.
-
I installed a switch to control the starlink and added that on the power (red wire) side of the inverter. I used a switch that’s got an integrated LED so I can tell at a glance if I’ve left it on (which happens quite often).
Will update this post with more pictures soon… Email me at seanwssmith@gmail.com with anything you’d like to see.